
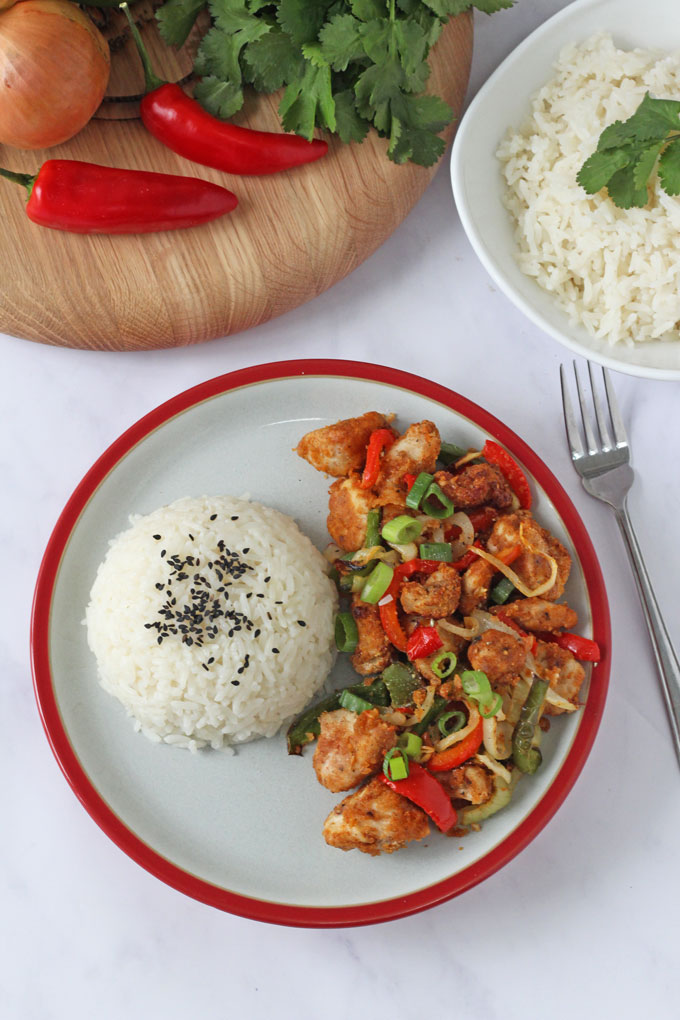
Salt and Pepper Chicken made in the ActiFry. A healthier twist on this classic Chinese takeaway dish!
Sponsored Post
It’s that time of year when everyone is trying to eat a little better after the indulgence of Christmas and New Year. But eating a little healthier doesn’t have to mean giving up your favourite treat meals.
I’ve teamed up with Tefal ActiFry to show you how you can recreate a more nutritious Chinese takeaway favourite at home, for a fraction of the cost too.
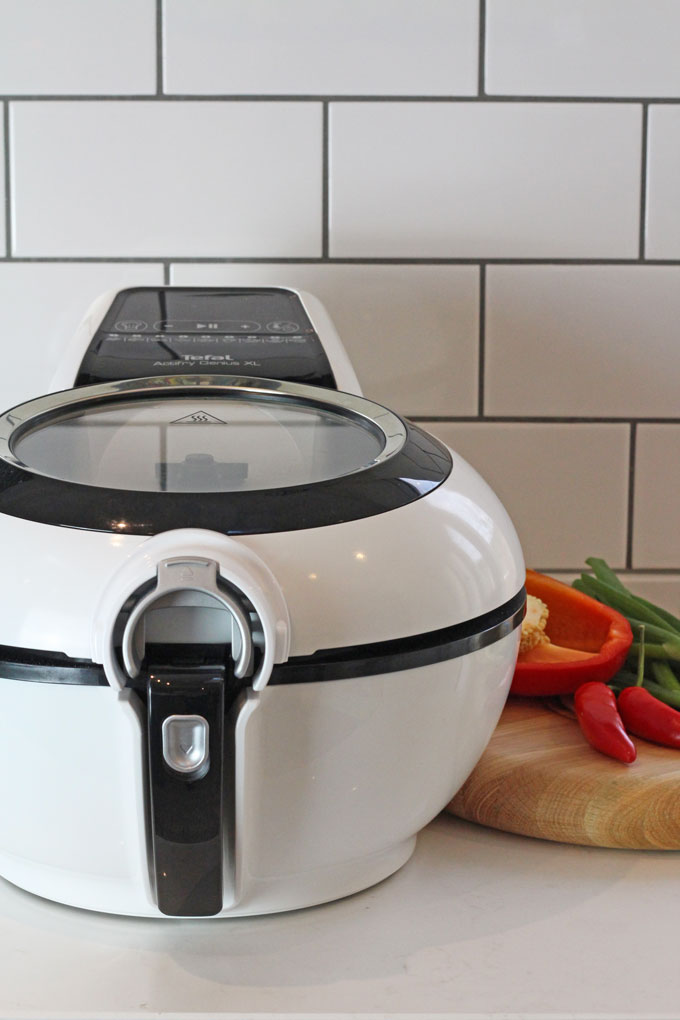
The ActiFry is the UK’s leading brand of low fat fryer. It’s so versatile; you can use it to cook anything from stir fries and chips to bolognese and curry, even desserts too.
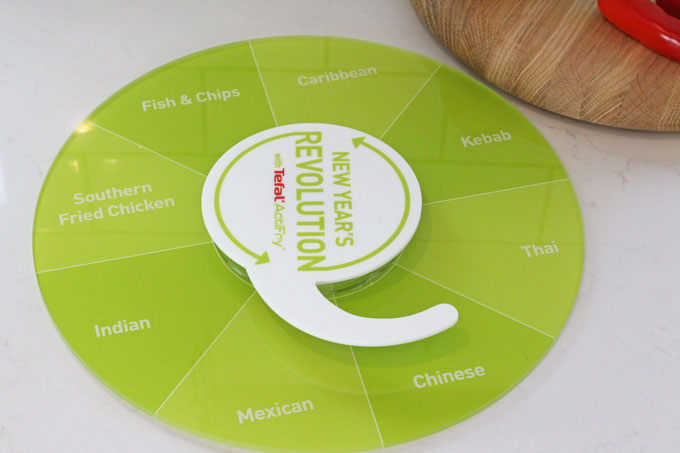
Tefal sent me their Dinner Spinner to help me decide which ‘New Years Revolution’ I would be cooking. I got Chinese which I was so happy about as it’s probably the takeaway that we get the most.
We always order Salt & Pepper Chicken from the Chinese takeaway. The kids love it as the pieces of chicken are like chicken nuggets!
I decided to put a healthier spin on my homemade version so instead of being deep fried, the chicken is coated in a light dusting of cornflour and then cooked in the ActiFry.
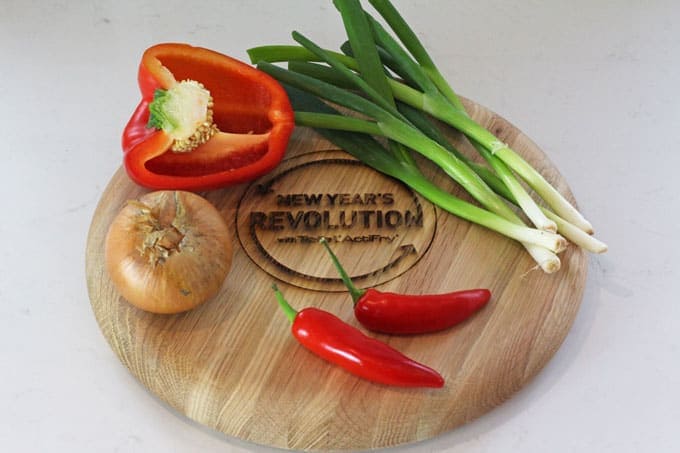
I also added more veggies than usual to help make it a complete and nutritious meal.
Along with it being a really healthy way to cook food, the ActiFry also makes home cooking really easy. In my recipe all the ingredients get added to the machine and left to cook for 20 minutes.
No stirring or pot watching required, which is perfect when you’re running around after a busy family!
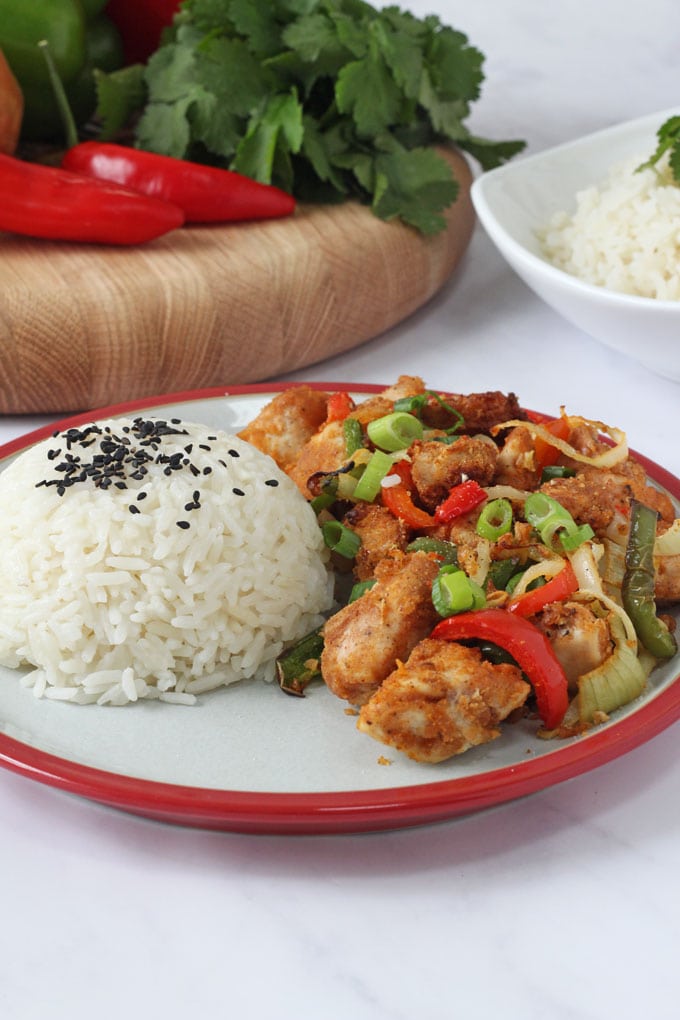
The chicken cooks beautifully in the ActiFry, getting lovely and crispy on the outside but staying tender on the inside.
I served my Salt & Pepper Chicken with some boiled rice but noodles or wok fried greens work really well too.
For more recipes check out the ActiFry Recipe website. You can also download the ActiFry app for free.
Disclosure: I have been compensated for my time spent working on this campaign with Tefal ActiFry but as always all thoughts and opinions are honest and are my own.
Print
Actifry Salt & Pepper Chicken
 Prep Time: 5 mins
- Cook Time: 20 mins
- Total Time: 25 minutes
 Yield: 4 1x
 Category: Dinner
 Method: Airfryer
 Cuisine: Chinese
Description
Salt and Pepper Chicken made in the ActiFry. A healthier twist on this classic Chinese takeaway dish!
Ingredients
- 450g diced chicken breast
- 50ml milk
- 75g cornflour
- ¼ tsp salt
- ¼ tsp ground black pepper
- 1 tsp garlic powder
- 1 tsp Chinese 5 spice
- ½ tsp paprika
- 1 onion
- 1 garlic clove
- 1 red chilli
- 1 red pepper
- 1 green pepper
- 1 tbsp olive oil or spray oil
- To garnish: chopped spring onion
Instructions
- Add the diced chicken to a bowl and cover with the milk. Stir and put to one side.
- Add the cornflour to another bowl and mix in the salt, pepper, garlic powder, Chinese 5 spice and paprika.
- In three batches, remove the chicken from the bowl with a spoon, draining off any excess milk. Add to the bowl with the cornflour spice mix and coat the chicken pieces completely. Transfer to a plate.
- Repeat the process with the other two batches of chicken.
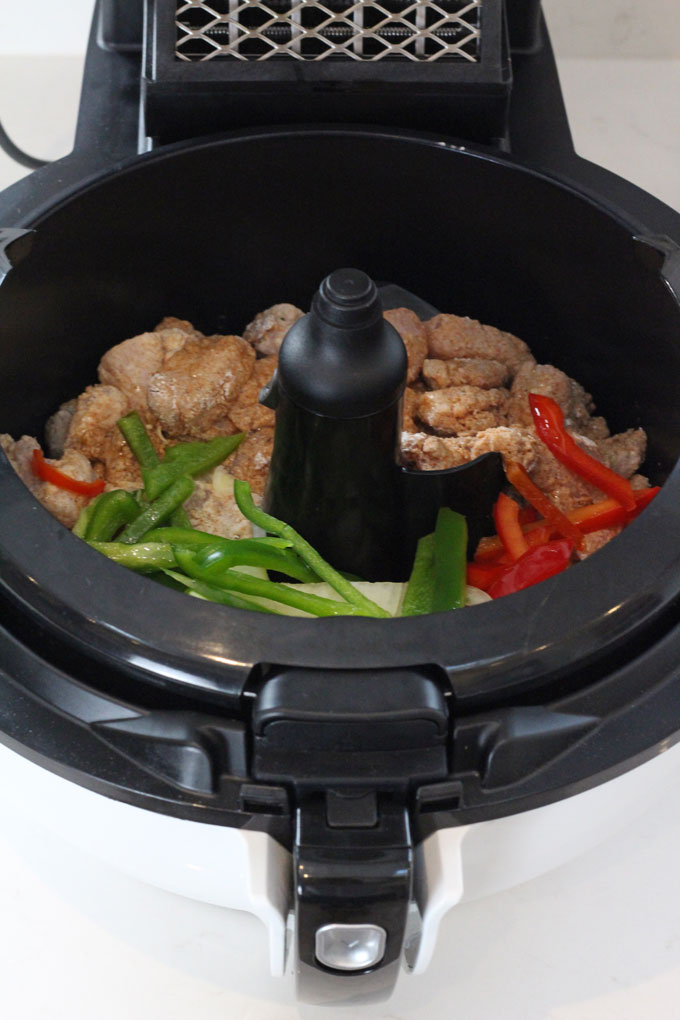
- Chop the onion, garlic, chilli and pepper and add them to the Actifry, along with the chicken.
- Drizzle in one ActiFry spoon of olive oil or spray on some spray oil.
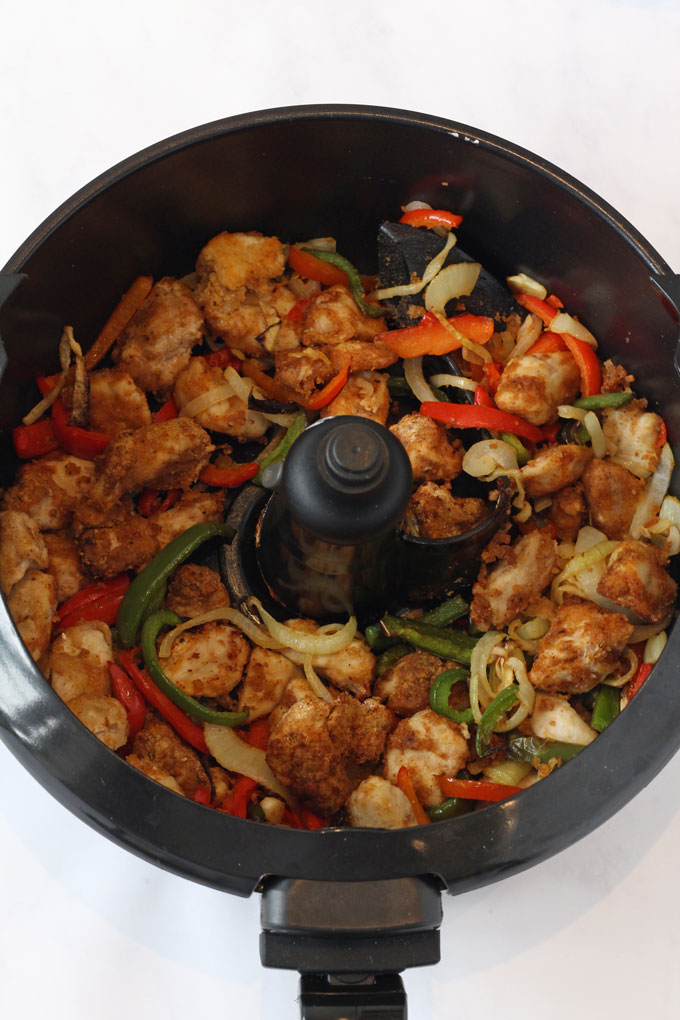
- Close the lid and set it to Mode 3 (Breaded Snacks) for 20 minutes.
- When the 20 minutes is up open the lid and test the chicken. If you prefer it a little crispier then cook for another 2-3 minutes. You can also add some salt and pepper too.
- When ready, remove, garnish with chopped spring onions and serve immediately with sides of your choice – boiled rice, noodles and wok fried greens all work really well with this dish.
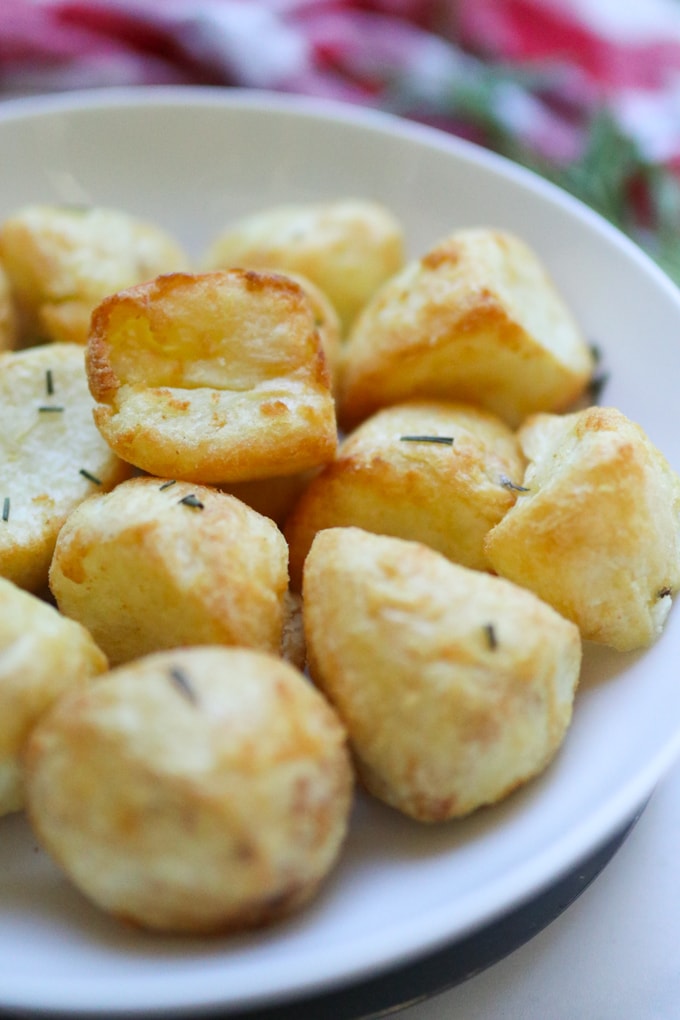
If you like this recipe you may also enjoy: ActiFry Roast Potatoes


Andrea says
Wow made this tonight and ots fantastic! Didn’t know I could do this in my actifryer. Thank you so much
★★★★★
Kate L says
This was the first recipe I cooked in my new Actifry Genius+ that I bought today. I was a little concerned when the paddle didn’t turn but then read that on setting 3 it doesn’t straight away and then it did. In all my excitement I forgot the garlic but it still looked and tasted amazing.
★★★★★
Hayley says
Such a quick and simple recipe that tastes amazing, just like having a takeaway. Had it with noodles. Was a big hit in my house. Will definitely be cooking it again!
★★★★★
Bev says
Tried this today. Absolutely lovely. Will be a regular meal in my household
★★★★★
Eileen dack says
The salt and pepper chicken looks gorgeous I’m going to try it tomorrow I will let you no how I got on I’m not very good with iPads or phones
Linda says
Thank you for sharing your great information. I read your blog daily . It give me so much knowledge and ideas.
★★★★★
Martha says
Loved this recipe quick easy and very tasty xxx
★★★★★
Gemma Williamson says
Hi there, delicious recipe was wondering what your thoughts would be to wet it a little as the chicken was a little dry?
★★★★
Liz says
We are trying to stay away from takeaway’s so we decided to try this. Never thought it would be as good as what we normally get from our local takeaway but in fact it was BETTER!!! (Not to mention cheaper!) Thanks for sharing this recipe.
★★★★★
Ciara Attwell says
Awww that’s amazing so hear! So glad you like it!
Venu says
Very nice Recipe Online food delivery services in Nellore