Tasty ham and cheese savoury muffins with a sneaky serving of hidden veggies, perfect to make ahead and freeze for school lunchboxes during the week.
THIS POST MAY CONTAIN AFFILIATE LINKS
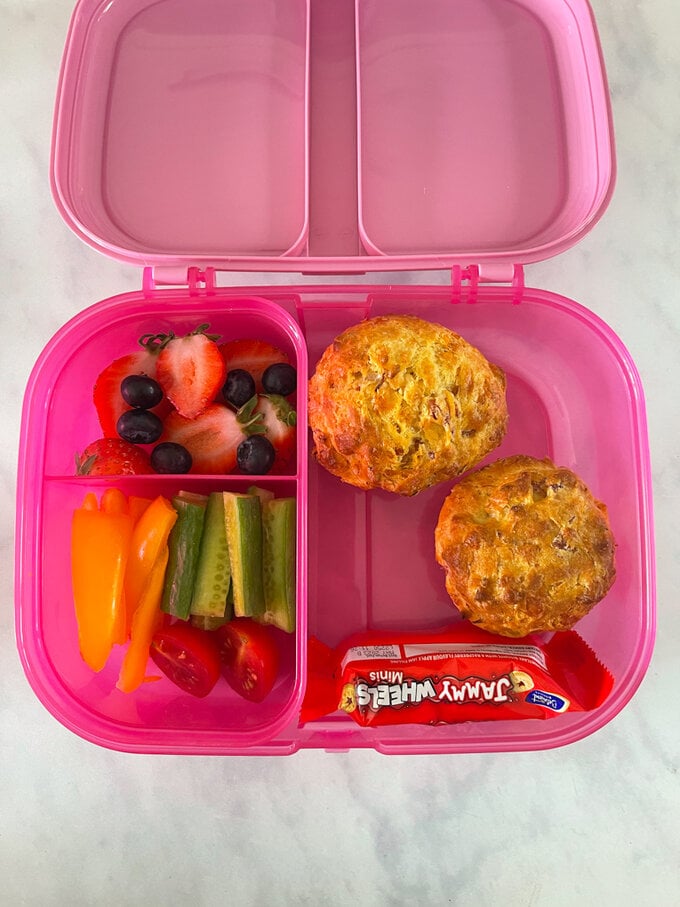
You may have noticed that I’ve been sharing all school or nursery lunchbox ideas this month and this week I’m continuing the theme but focusing on recipes that you can make ahead and freeze.
Today’s recipe is these delicious Ham & Cheese Muffins. So easy to make, everything gets mixed together in one bowl with no special equipment needed and just a few basic ingredients.
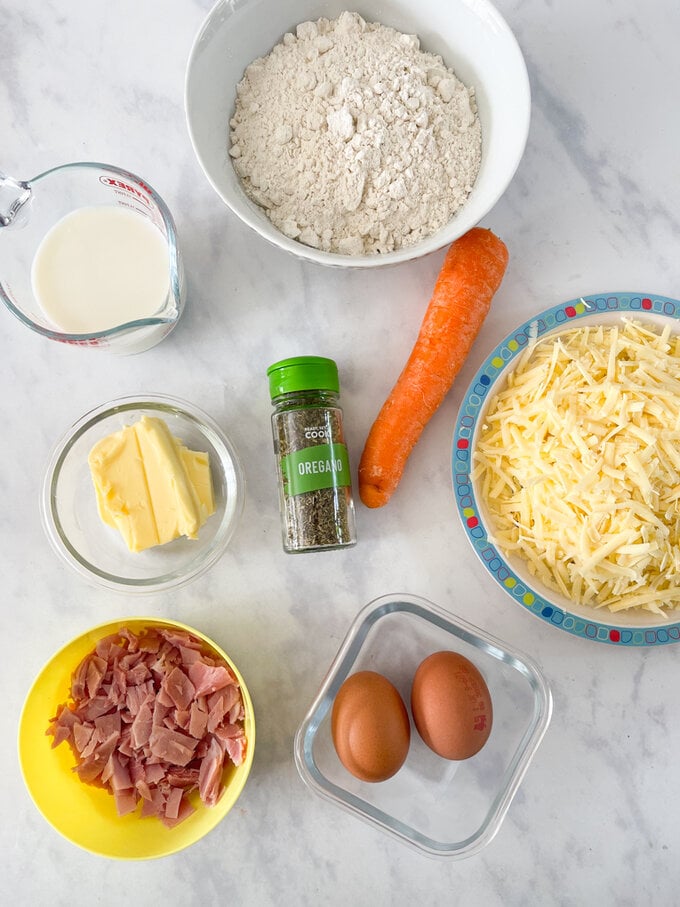
They take six minutes tops to weigh out the ingredients and mix them together and then 25 minutes in the oven to cook.
I’ve even managed to sneak in some hidden veg in the form of carrots! I grate the carrot quite finely so that it cooks well and becomes really soft inside the muffin. The small strands of carrots actually look like cheese so these are perfect for fussy eaters!
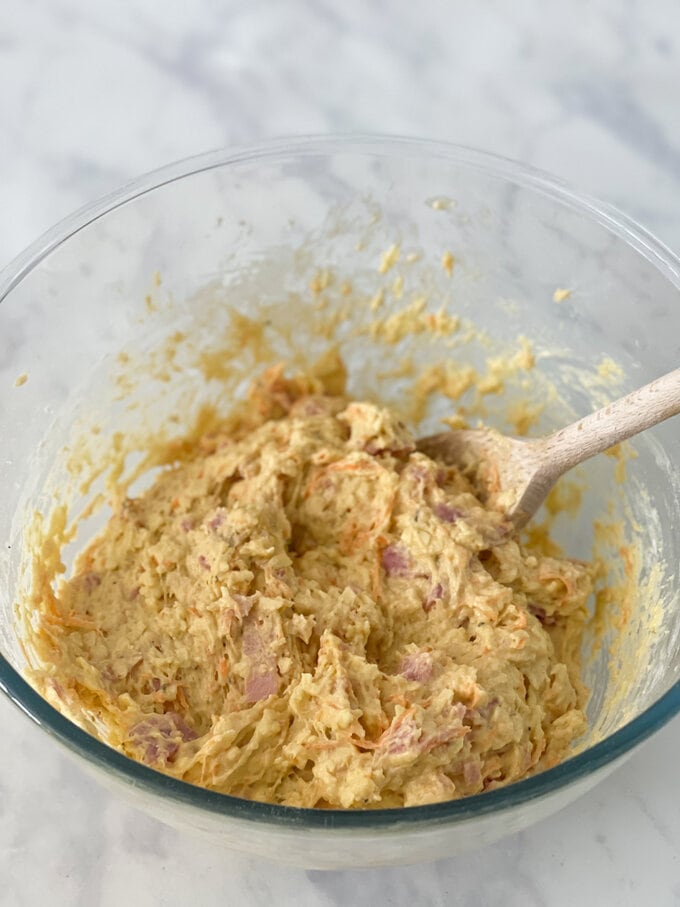
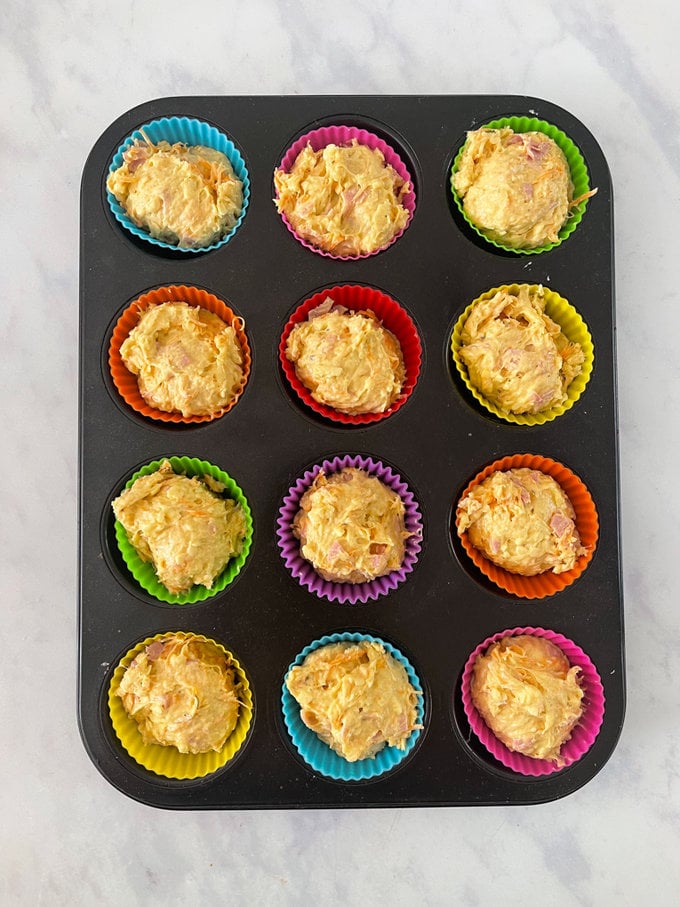
Once mixed, divide the muffin mixture between twelve muffin case. I find it much easier to do this with an ice cream scoop. One full scoop is the perfect amount of mixture for each case.
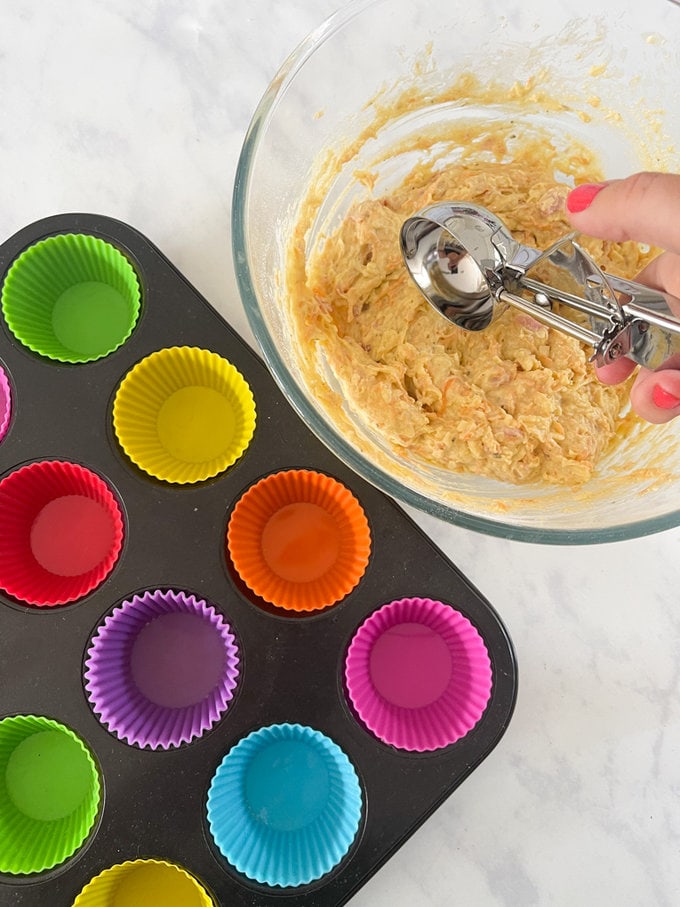
Pop in the oven for 25 minutes.
I really recommend using Silicone Muffin Cases. These types of muffins have a tendency to stick to paper cases but they won’t stick to the silicone ones. They’re easy to clean and of course reusable too.
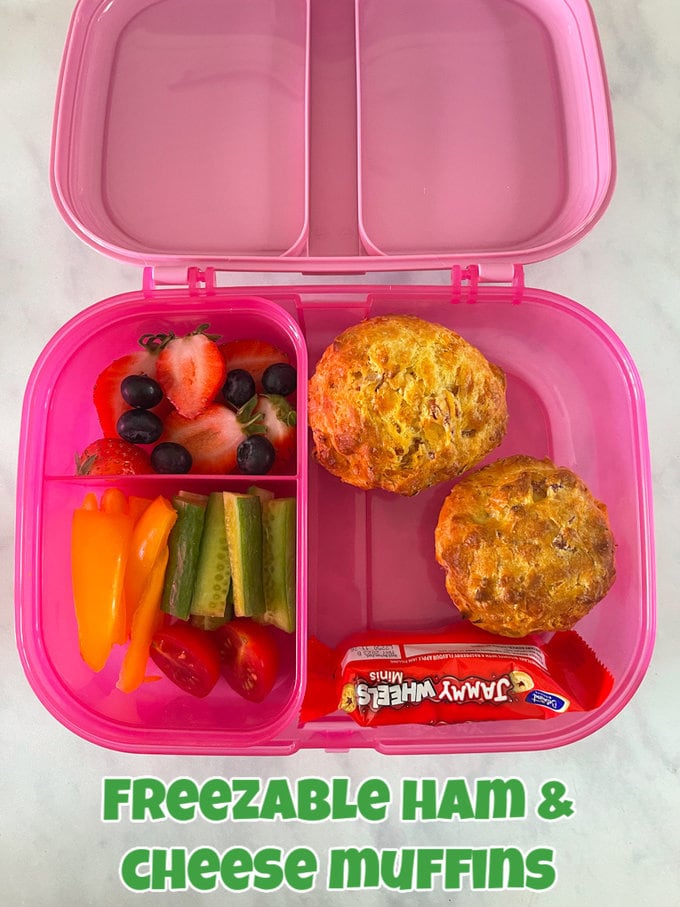
And you have the most delicious cheesy savoury muffins ready for lunchboxes during the week.
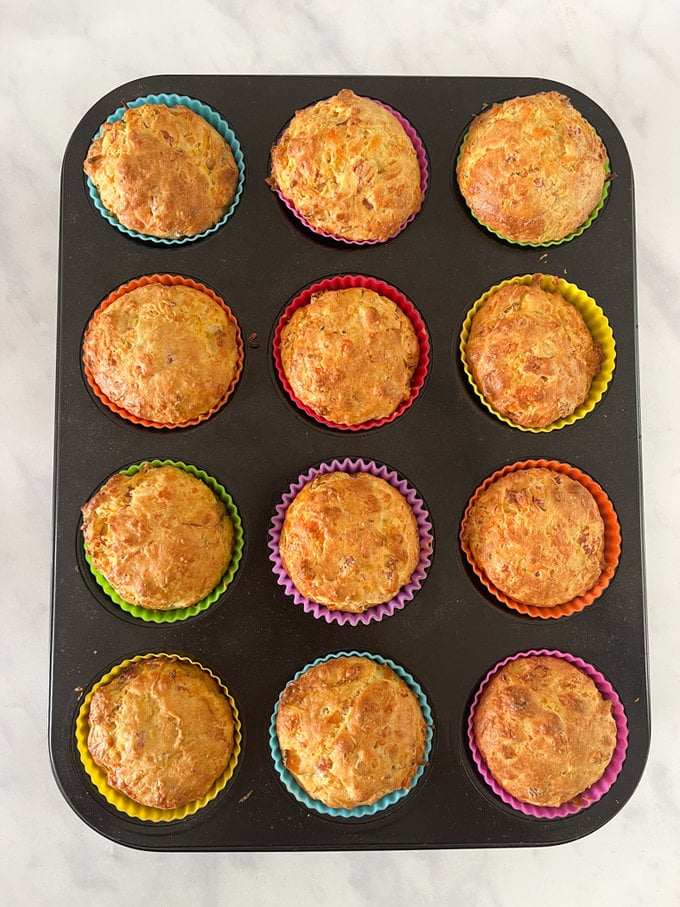
You can of course eat these straight away. These are delicious warm but still just as tasty served cold too.
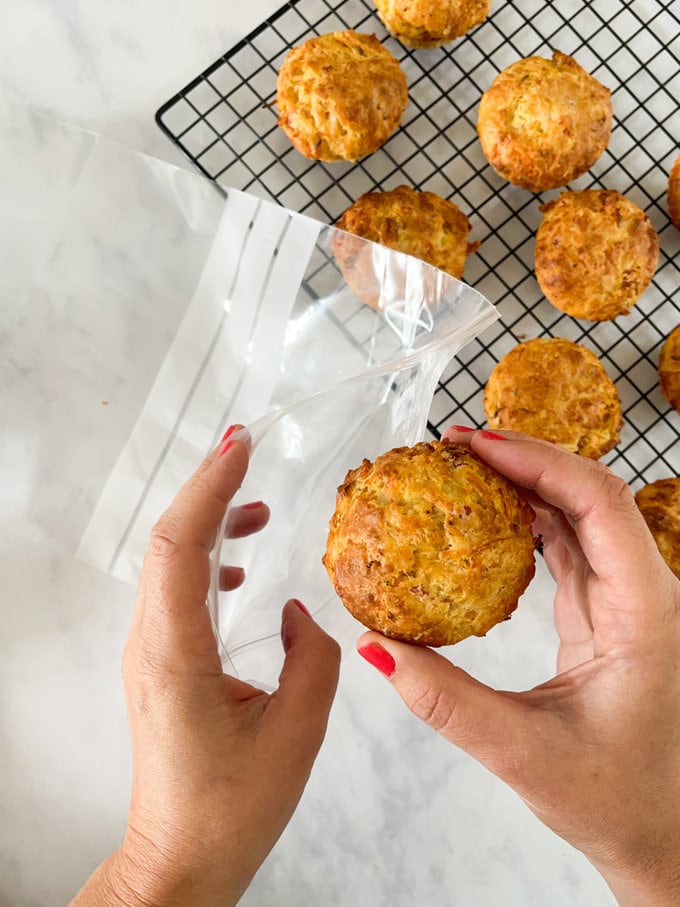
Allow them to cool then pop into a large freezer bag. Pull them out as and when needed. They will defrost in your children’s lunchboxes in a few hours, ready to enjoy for lunch at school or nursery.
If you try my recipe please do leave me a comment and a star rating below. You can also share your pictures with me on Instagram. I always love to see your creations!
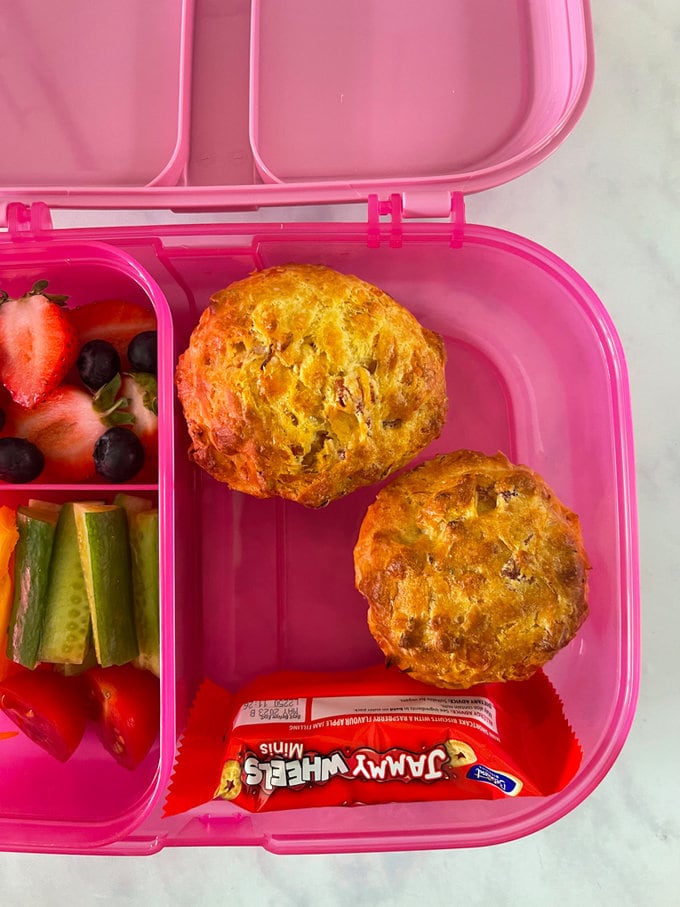
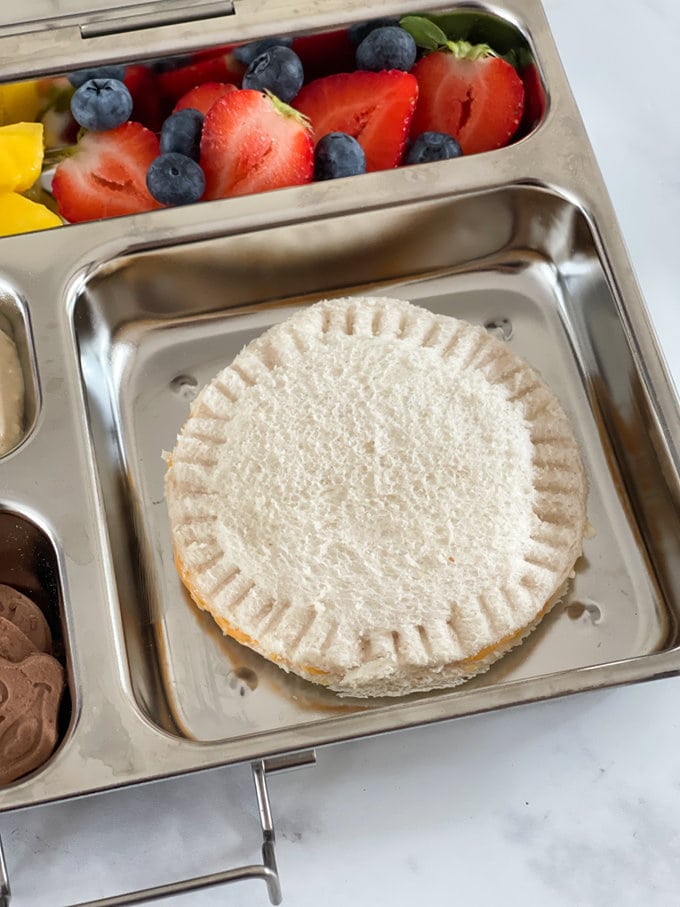
If you liked this recipe you may also want to check out my Crustless Sandwich idea.

Ham & Cheese Muffins
 Prep Time: 6 minutes
 Cook Time: 25 minutes
 Total Time: 31 minutes
 Yield: 12 1x
 Category: Lunchbox
Description
Tasty ham and cheese savoury muffins with a sneaky serving of hidden veggies, perfect to make ahead and freeze for lunchboxes during the week.
Ingredients
- 2 medium eggs
- 150ml milk
- 75g melted butter
- 170g grated mature cheddar cheese
- 70g chopped ham
- ¼ tsp oregano
- 1 medium carrot, grated
- 250g self raising flour
Instructions
- Preheat the oven to 180c fan and line a 12 hole muffin tray with paper or silicone cases.
- Add the eggs, milk and melted butter to a large bowl and whisk for a few seconds with a hand whisk.
- Add the grated cheese, chopped ham, oregano and grated carrot and mix with a spoon.
- Finally, add the self raising flour and mix just enough so that the ingredients are well combined.
- Divided the mixture between the 12 muffin cases. I find it easier to do this with an ice cream scoop.
- Bake in the oven for 25 minutes.
- These muffins can be eaten straight away or if you want to freeze them, allow them to cool then transfer to a freezer bag.
- To defrost, take them out of the freezer early in the morning and add to lunchboxes. They will be defrosted by lunchtime.





Jordan Humphreys says
I made these for my son this morning and they turned out so good! He has a milk allergy, so I just changed milk for almond, added DF butter instead and DF cheese. Worked out perfect, thank you 🙂
★★★★★
Vicky says
Great substitutes, glad he enjoyed them!
Thank you for coming back to us with a review x
Lisa says
Just made these and they taste yummy warm and sure they will taste great cooked down too, great recipe for children and adults!
Vicky says
So glad you enjoyed these Lisa, thank you for your feedback on this recipe.
Nas says
I just made these. I replaced the self rising flour with regular flour + salt + baking soda + baking powder, and they came out a little dry. I’m realizing this was caused by my mistake though. If you use regular flour, don’t add the soda and baking powder on top of 250 g of flour. Rather reduce the amount of flour so that the total equals 250 g.
I’ll definitely make them again, because even though dry they still tasted good.
★★★★★